
Cleaning Fossil Megalodon Teeth: A Preservation Guide
Cleaning Fossil Megalodon Teeth: A Preservation Guide
There’s something special about bringing a fossil back to life, well, at least for me. There’s a kind of calm that comes with sitting down and slowly revealing the enamel sheen of a Megalodon tooth or the intricate ridges of a mammoth molar that’s been hidden for millions of years. Whether it’s a find pulled from Florida’s Peace River, discovered in the Gainesville creeks, uncovered while diving off the coast of Venice, or a specimen added to your growing collection, careful cleaning and preservation can bring out the natural character of each piece and keep it looking incredible for generations to come.
In this guide, we’ll cover how to safely clean fossil Megalodon teeth, as well as mammoth, mastodon, horse teeth, and a variety of other fossils without damaging their natural patina or structure.

Rinse Away Surface Sediment
Seems like a no-brainer, right? Start with a gentle rinse in lukewarm distilled water. Use a soft toothbrush or your fingers to remove loose sand, clay, or phosphate residue. Often enough, when you’re digging around in creeks, rivers, or the ocean, loose sand can get trapped in the cracks of some fossils. For stubborn material, let the fossil soak in distilled water for 24–48 hours to loosen compacted sediment.
💡 Tip: Avoid tap water, especially in areas with high mineral content. It can leave calcium deposits on enamel surfaces, dulling the natural color, and you don’t want that.
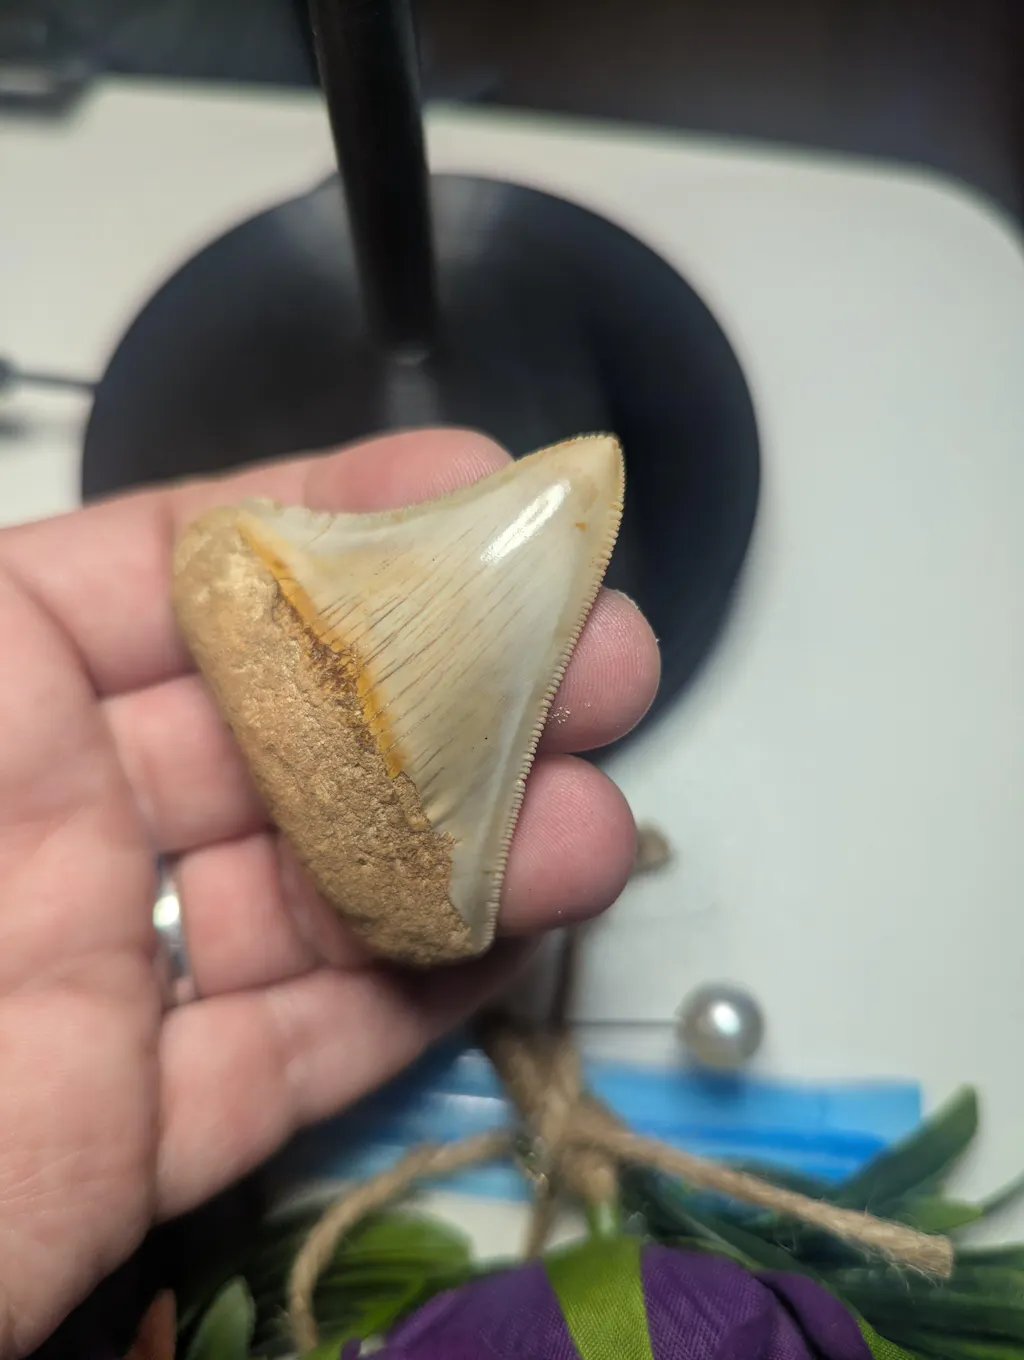
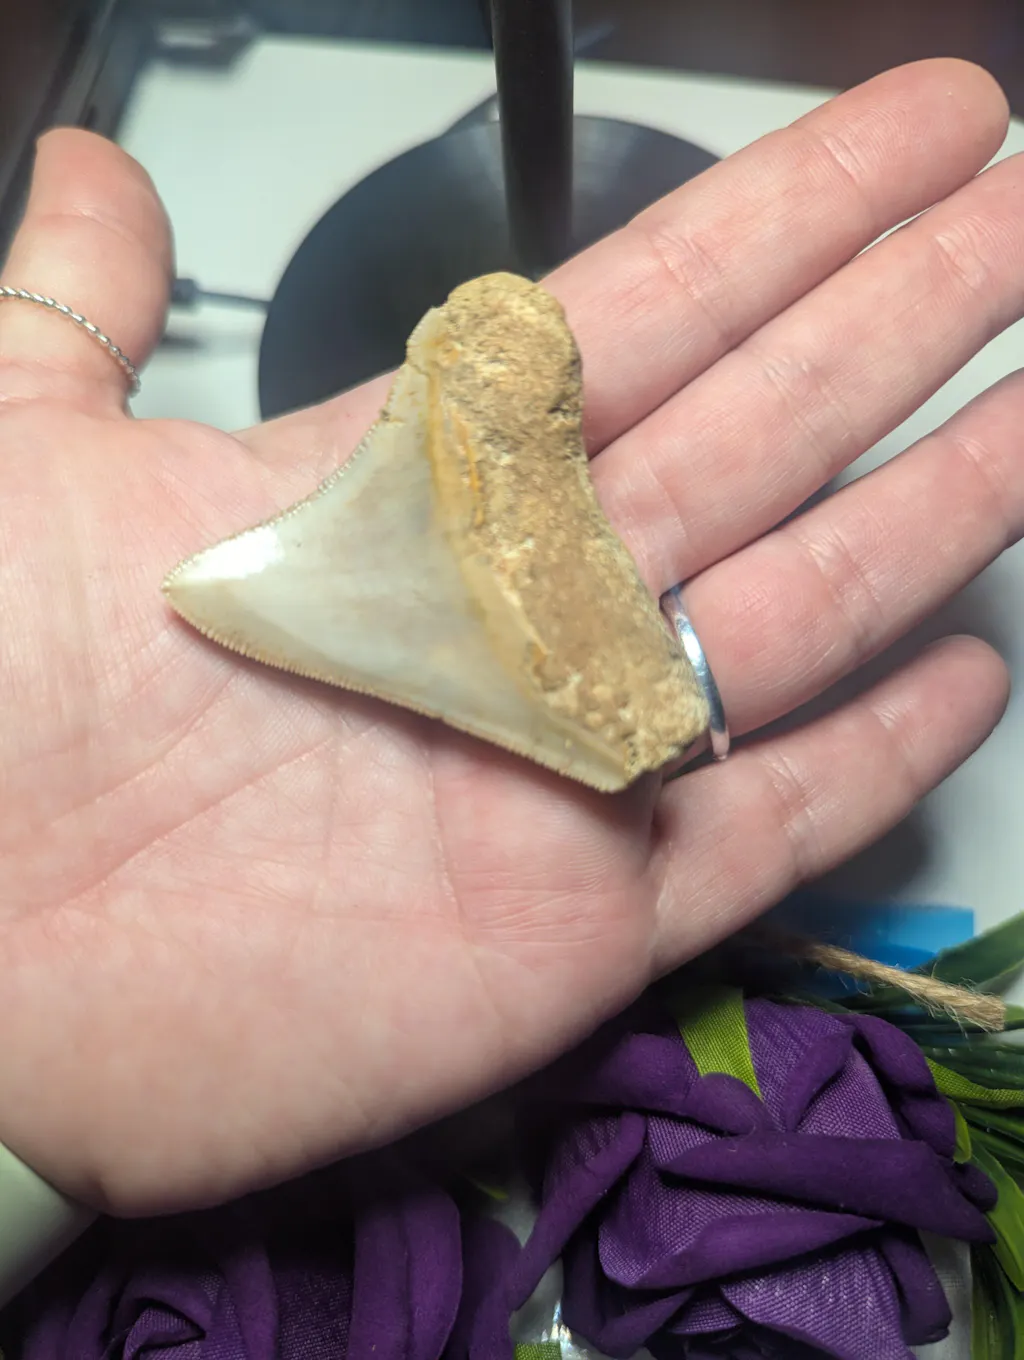
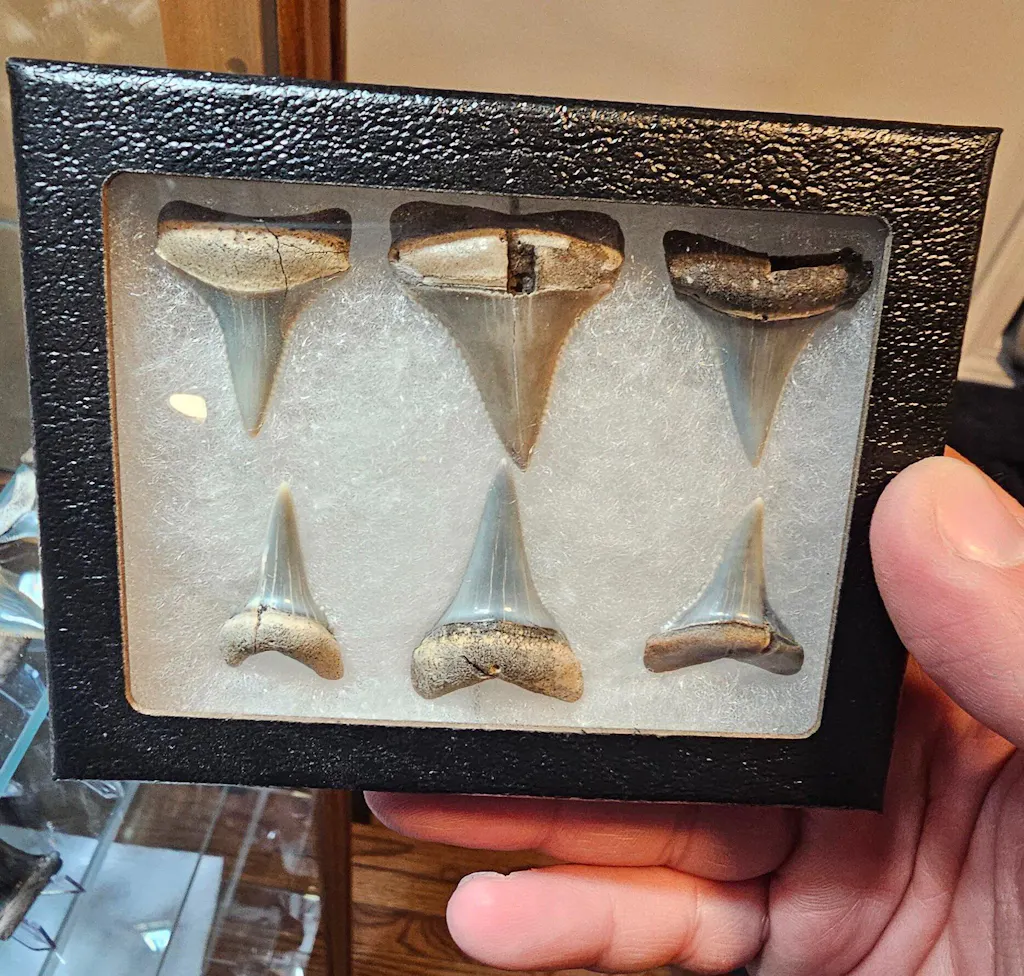
Light Mechanical Cleaning (for Megalodon and Other Shark Teeth)
Before cleaning any fossil, especially higher-value specimens, it’s important to understand whether a tooth has undergone repair or restoration, as aggressive cleaning can expose or damage hidden work, something we cover in detail in How to Spot Repaired or Restored Fossil Megalodon Teeth.
Megalodon teeth often, but not always, come from phosphate-rich riverbeds, which means they may have compacted matrix around the serrations and root. To clean without damage:
- Use wooden toothpicks, bamboo skewers, or soft dental tools to dislodge debris.
- For fine detail work around serrations, use a magnifier light or headlamp. Especially if you want to get that detailed with your cleaning.
- Avoid hard metal picks or wire brushes; they can scratch or flatten serrations.
- Also, try to avoid any sort of bench polishing wheels. I know some folks use and swear by them, but if you lose your grip on a tooth, it’ll go flying.
If you have access to micro-cleaning tools, a low-pressure soda blaster (using baking soda media) can be incredibly effective for cleaning without harming enamel. Practice on a lower-value tooth first, as pressure that’s too high can strip color or leave micro-pitting.
⚙️ Avoid: Sandblasting or steel-bristled tools, they’ll remove the enamel and destroy texture.
Gentle Chemical Cleaning for Stains or Calcite Buildup
Over time, many Megalodon and other fossils develop white or tan calcite crusts. Especially if these fossils are found in oceans. These can be removed using a diluted vinegar solution (50% white vinegar, 50% distilled water):
- Submerge the fossil for no more than 5–10 minutes. The solution will loosen and weaken the calcite crust, and you should be able to remove it more easily with a soft wire brush or dental tools.
- After cleaning, let it soak in fresh, distilled water for at least half an hour.
- Let it dry fully before further handling.
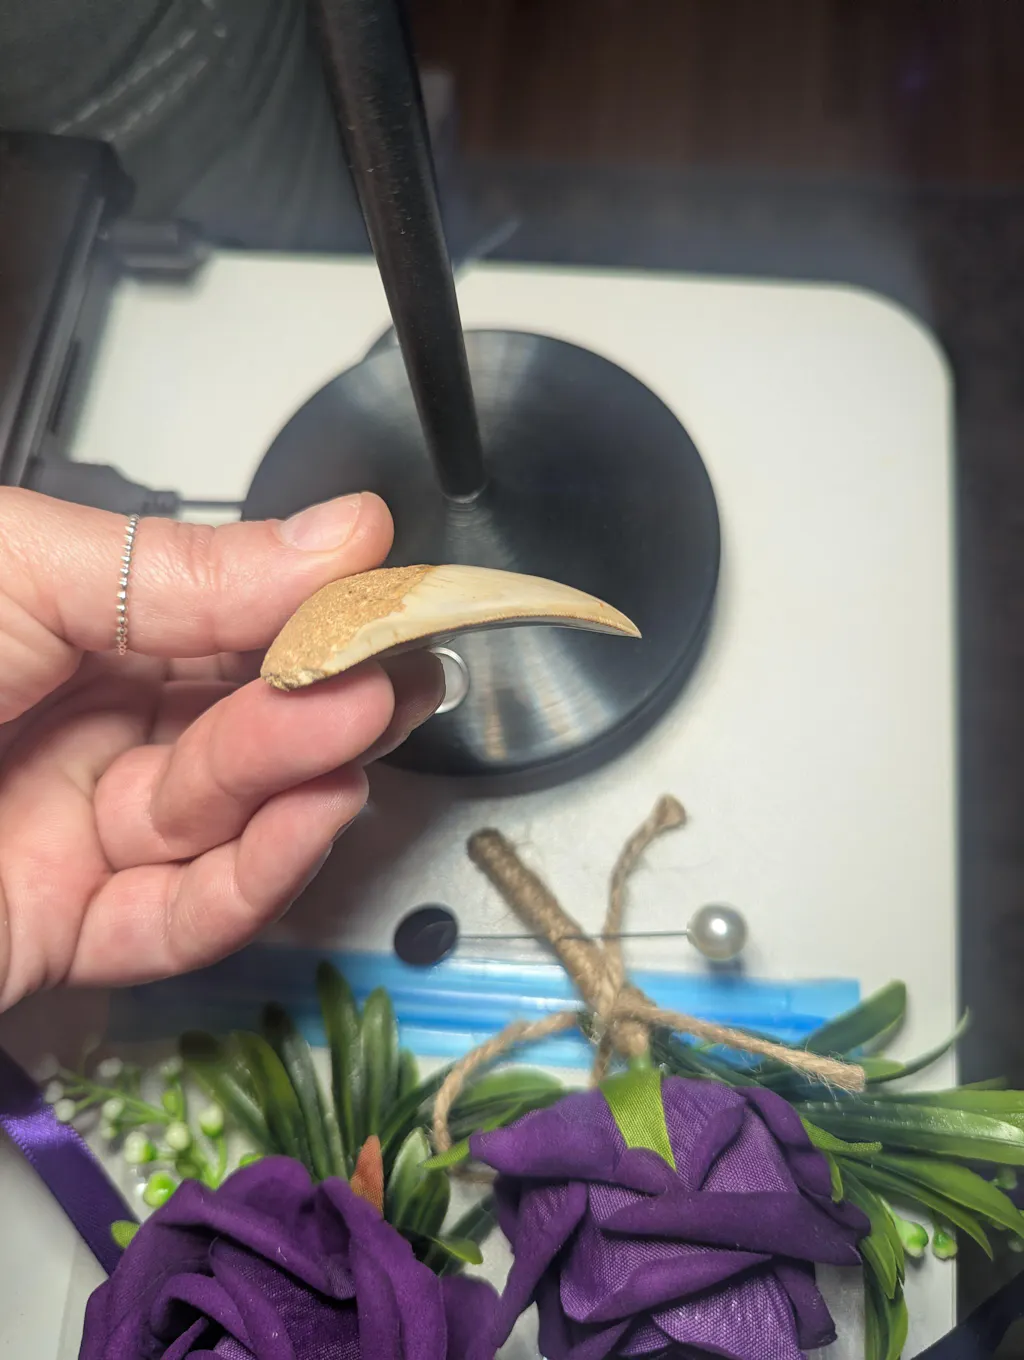
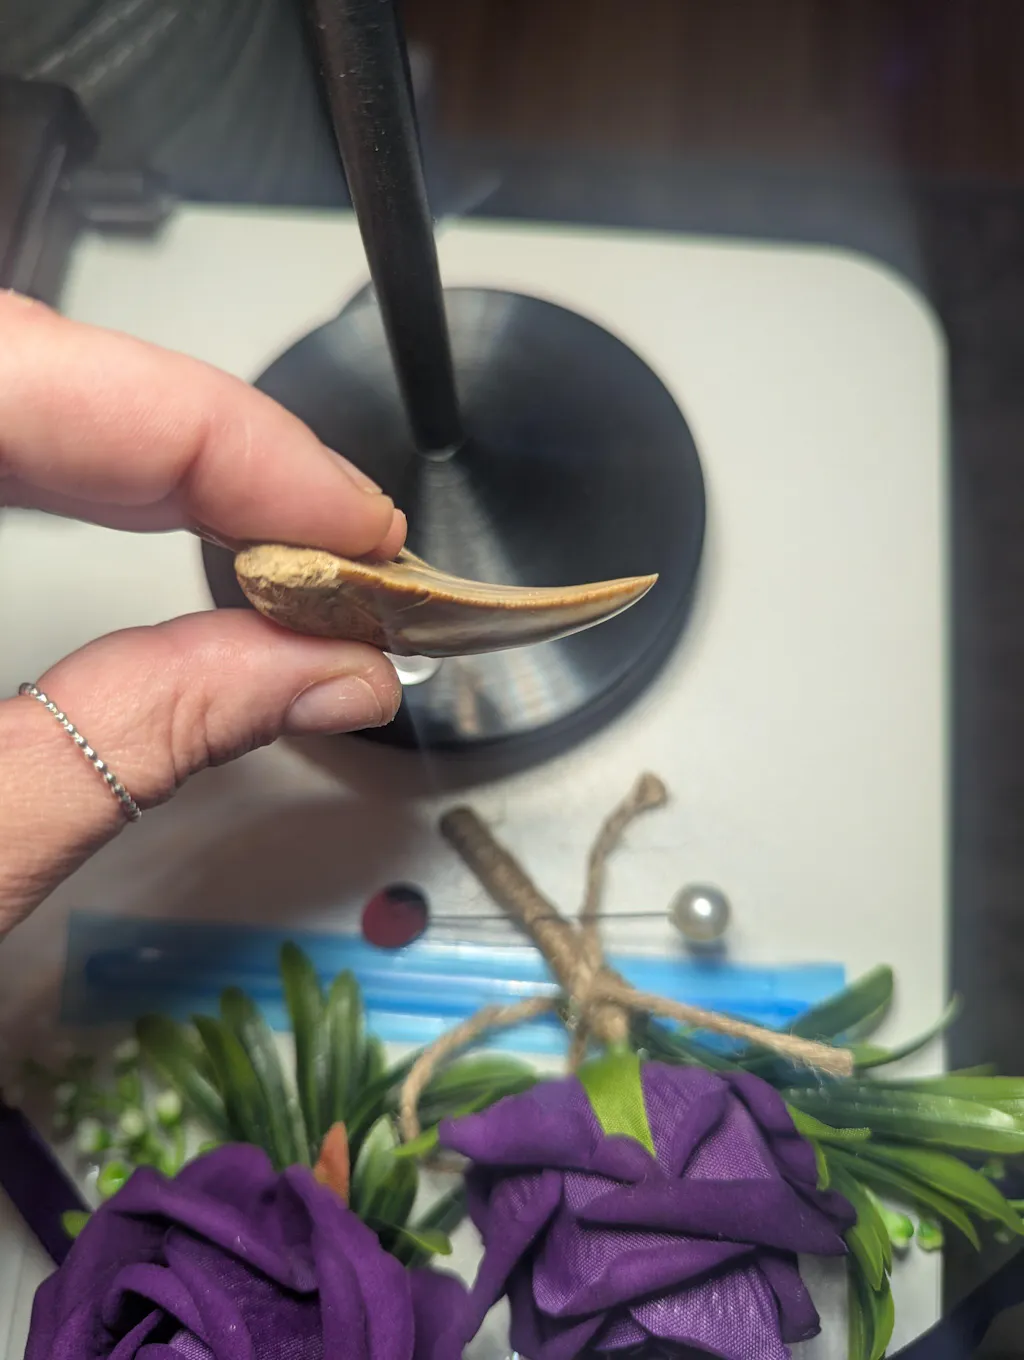
For extremely fragile fossils (like mammoth, mastodon, sloth, horse teeth, etc., with crumbly enamel), skip the vinegar entirely, opt for gentle mechanical removal instead, using a soft brush or wooden pick.
⚠️ Caution: Never use muriatic acid, bleach, or hydrogen peroxide on fossils. These can permanently etch or weaken fossilized material. Also, be careful when leaving any fossil in a vinegar/water solution for an extended period of time. The vinegar can eat away at the fossil, especially fossils with enamel, like megalodon teeth.
Drying and Surface Stabilization
After cleaning, pat the fossil dry with a soft towel and let it air-dry for 24 hours in a shaded, room-temperature environment.
Avoid heat lamps or direct sunlight, which can cause micro-cracks or fading. This is especially important for colorful Bone Valley specimens, where improper drying or sunlight exposure can permanently fade enamel tones, as explained in Why Do Fossil Shark Teeth Have Different Colors?
For porous fossils (like mammoth or mastodon teeth), a stabilizing solution may be necessary:
- Mix Paraloid B-72 in acetone (5–10% solution).
- Apply gently with a brush to the surface and allow to dry.
- This consolidant helps strengthen fragile enamel and protect against flaking or completely crumbling apart.
Polishing (Optional, and Only for Certain Fossils)
Most collectors prefer to keep their Megalodon teeth natural. Over-polishing or altering a tooth’s surface can negatively impact authenticity and value, especially for collectors, which is why condition plays such a major role in How Fossil Megalodon Teeth Are Priced. However, if you have a tooth with dull enamel that you’d like to showcase:
- Gently buff with a microfiber cloth.
- Avoid oils or waxes, as they may darken or artificially shine the surface.
For mammoth or horse teeth, a light buffing can help bring out the natural enamel patterns, but again, skip any artificial polishes or sealants.
Proper Display and Long-Term Preservation
Fossil teeth are resilient, but still require stable conditions for long-term preservation:
- Keep humidity around 40–60%. Too dry and they may crack; too humid and mold may develop. This really isn’t too much of an issue if you keep them somewhere in your home.
- Avoid direct sunlight, especially for fossils with rare coloration (e.g., blue or white Bone Valley Megalodon teeth).
- Use acrylic stands or cases to protect from dust and moisture. There are so many options on the market right now. Explore and get something that fits your style.
- Label your fossils with location and age data; it enhances both display and educational value. We always try to include some sort of information on all fossils that we sell. It just adds a nice little touch in our opinion.
🧲 Fossil Driven Tip: Pair your preserved fossils with custom 3D-printed stands (coming soon to fossildriven.com) or magnetic display bases to keep them secure and beautifully presented.
Wrapping Up
Cleaning and preserving fossils is an art form, one that connects you directly to prehistoric life. If you want to see it like that. Whether you’re cleaning a calcium-coated Megalodon tooth or stabilizing a mammoth molar, the right techniques can make each specimen shine without compromising its authenticity. Take your time, use gentle methods, and enjoy the process. After all, every fossil you clean is a story millions of years in the making.
If you’re looking to add a megalodon tooth to your collection, browse our fossil megalodon teeth for sale to see authentic specimens in a range of sizes and preservation grades. Collectors searching for larger display pieces can also explore our 6-inch megalodon teeth for sale, while premium collector-grade examples can be found in our high-quality megalodon teeth for sale collection.
Written by: Brandon Zulli, owner of fossildriven.com
Related Reading
Want to learn more about fossil shark teeth? Check out these other posts: