
How to Examine a Fossil for Authenticity: Tools and Techniques
Share
Knowing the red flags is only half the job. Once you know what to look for, the next question is how to actually look. You don't need a laboratory to evaluate a fossil closely. Most experienced collectors rely on a handful of simple techniques: careful observation under the right lighting, a few inexpensive tools, and an understanding of where a specimen came from.
This isn't a checklist of warning signs (for that, see our guide on how to spot fake fossils before you buy). It's a walkthrough of the actual techniques collectors use to put a fossil under real inspection, from a ten-dollar loupe to CT scanning for museum-grade specimens.
Start With the Surface
The surface of a fossil often tells you more than any product description will. Real fossils formed over millions of years under changing geological conditions, so they almost always show natural variation in color, texture, mineralization, and wear, even in exceptionally preserved specimens. Artificial restoration, by comparison, often looks too perfect.
Look for gradual transitions rather than abrupt changes. Natural enamel, bone, shell, or matrix rarely shifts from one color to another with a perfectly sharp boundary. Areas that look unusually smooth, uniformly colored, or almost plastic deserve a closer look, and they're exactly where the tools below earn their keep.
Preparation Isn't the Same as Deception
Most fossils don't emerge from the ground looking like museum displays. They often arrive encased in rock, fractured by geological pressure, or weakened after millions of years underground, and without professional preparation many would never survive to be displayed or studied. Preparators routinely remove excess matrix, stabilize fragile specimens with conservation-grade consolidants, and reattach pieces that separated naturally during excavation. That's conservation, not deception, and it's worth knowing the difference before you start inspecting a piece, so you're not treating normal prep work as a warning sign.
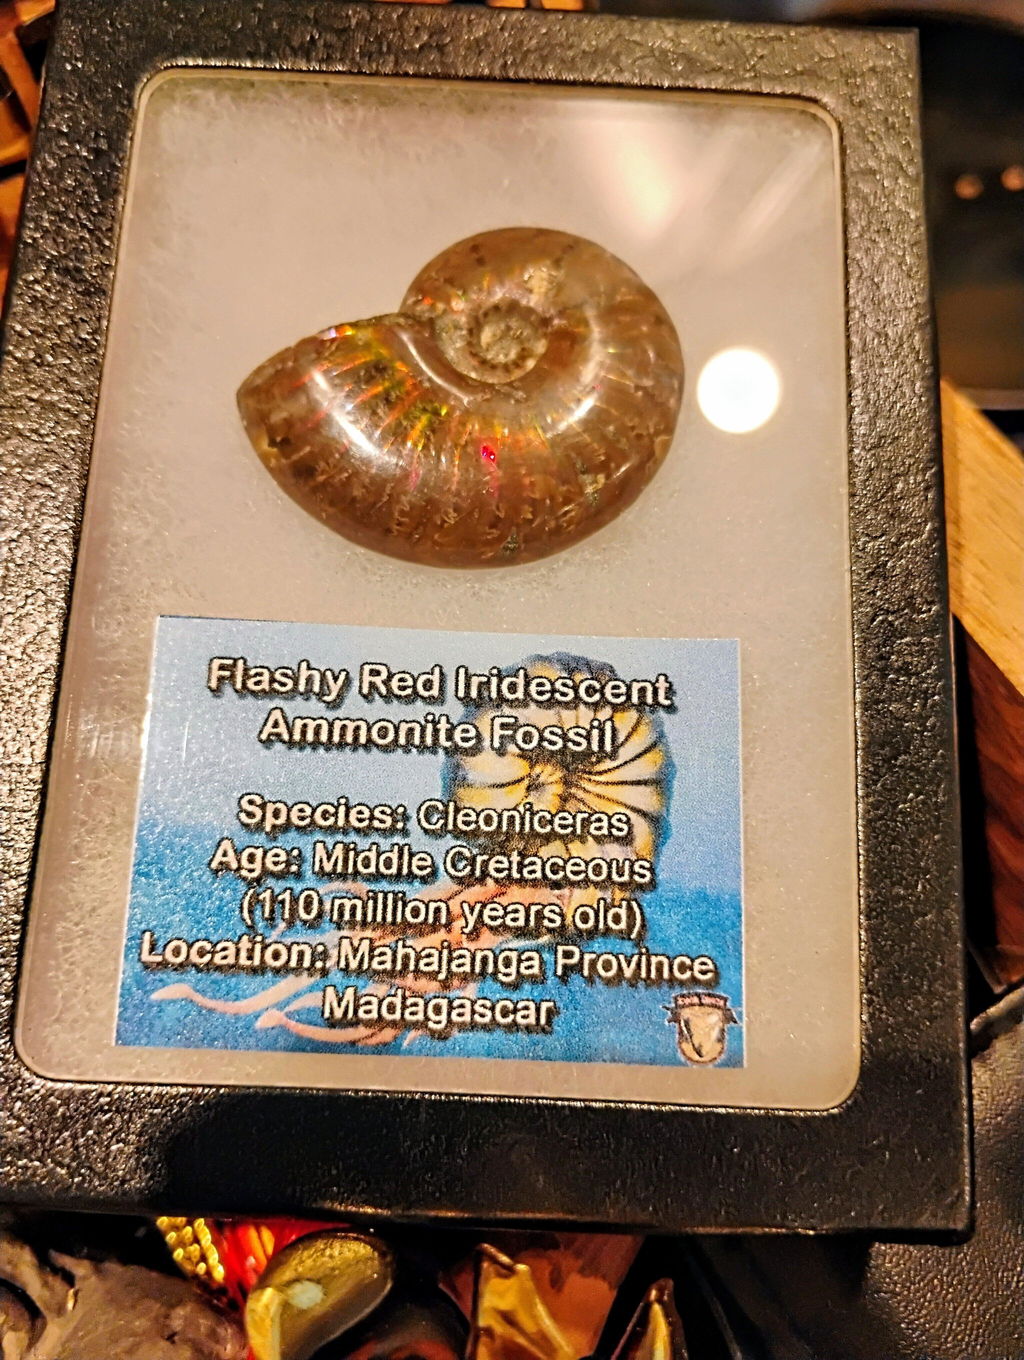
The line is whether the work preserves original material or recreates anatomy that no longer exists. Stabilizing a brittle trilobite or reattaching a naturally broken ammonite chamber preserves genuine material. Sculpting missing serrations onto a shark tooth or rebuilding a claw tip crosses into restoration, and either way, a seller should be able to tell you which one you're looking at.
Value depends on rarity, completeness, scientific importance, aesthetic appeal, and the extent of any restoration. A small repaired crack in a megalodon root usually has little impact on desirability; extensive reconstruction of the enamel generally affects both collector interest and market value. Neither approach is wrong on its own. What matters is knowing exactly what you're examining, which is where the following techniques come in.
Look for Patterns, Not Just One Imperfection
Real fossils are diverse. They formed under different environmental conditions, experienced different mineralization processes, and often spent millions of years buried before excavation, so no two specimens, even from the same species and locality, are exactly alike. That means authenticity is rarely determined by a single characteristic; experienced collectors look for patterns instead.
As you examine a specimen, ask yourself whether the evidence tells a consistent story. Does the color match the locality where it was reportedly found? Do the repaired areas make sense for this type of fossil? Are the wear patterns natural? The more pieces that fit together as you work through the techniques below, the more confidence you can have in your evaluation.
Use Simple Tools to Evaluate Fossils
You don't need a laboratory full of scientific equipment to make informed decisions. A quality jeweler's loupe (10x magnification), a bright LED or UV flashlight, and high-resolution photographs are often enough to identify repaired cracks, filled areas, paint touch-ups, or suspiciously uniform textures.
Magnification lets you examine fine details that are hard to see with the naked eye. Paint may collect inside tiny pores, modern adhesives may become visible along repaired seams, and repeated tool marks can sometimes indicate carving rather than natural formation.
Lighting matters just as much. Holding a flashlight at a low angle across the surface creates shadows that help reveal subtle changes in texture, repaired fractures, and filled areas that disappear under direct overhead lighting. Natural daylight is also one of the best ways to evaluate color, since indoor lighting can dramatically change how enamel, bone, shell, or amber appears, making repairs more difficult to recognize. The more fossils you examine under different lighting conditions, the easier these details become to spot.
Can UV Light Help Identify Restoration?
Ultraviolet light has become another useful tool for many experienced collectors. Some modern adhesives, fillers, paints, and restoration materials fluoresce differently than the surrounding fossil when exposed to UV light. While this doesn't automatically prove restoration, it can highlight areas worth examining more closely.
It's important to remember that UV light isn't a definitive authenticity test. Different minerals, conservation materials, and even some natural fossils can react differently under ultraviolet light, so treat it as one piece of evidence rather than a standalone answer. For most collectors, careful visual inspection combined with honest seller disclosures remains far more valuable than relying on specialized equipment alone.
Avoid Popular "Internet Tests"
If you've searched online for ways to tell whether a fossil is real, you've probably come across advice involving heat, chemicals, scratching the surface, or other homemade tests. These methods are usually unnecessary, and sometimes permanently damaging.
Heating amber, scratching fossil surfaces, soaking specimens in chemicals, or attempting destructive hardness tests can reduce both scientific and collector value, even if the fossil is completely authentic. The safest approach is always non-destructive observation: ask questions, request additional photographs, study the specimen under good lighting, and compare it with authenticated examples from reputable dealers or museum collections. If uncertainty remains, seek a second opinion before purchasing rather than experimenting on the fossil itself.
When Professional Evaluation Makes Sense
For most fossils, careful observation with the techniques above provides more than enough information for a confident buying decision. Exceptionally valuable specimens, though, sometimes justify more advanced evaluation.
Museums, universities, and high-end private collectors occasionally use technologies such as CT scanning, X-ray imaging, or microscopic analysis to examine fossils without damaging them. These methods can reveal hidden fractures, internal restoration, concealed repairs, and other structural details that aren't visible from the surface. For the average collector purchasing a display-quality fossil, this level of analysis is rarely necessary. But for investment-grade specimens, scientifically important fossils, or purchases involving significant financial value, professional examination can provide additional peace of mind.
Provenance Matters More Than Most People Realize
Many people assume provenance means having decades of paperwork documenting every owner of a fossil. In reality, it's often much simpler: understanding what the fossil is, where it came from, and how it entered the market. A reputable dealer should be able to explain a specimen's species, known locality, and whether any restoration or stabilization has been performed.
Locality can also serve as an authenticity clue, since collectors familiar with specific fossil sites recognize the characteristic appearance of specimens from those locations. Bone Valley, Florida, is well known for megalodon teeth with rich mineral coloration ranging from deep blacks and grays to striking blues and tans. Indonesian megalodon teeth from West Java often show distinctly different enamel textures and preservation styles. Teeth from Virginia's Meherrin River frequently develop warm orange and reddish mineral staining that reflects the local geology rather than artificial coloring. The same principle applies to Moroccan trilobites, Green River fish, Baltic amber, and Kem Kem dinosaur fossils, each with preparation styles and geological features that experienced collectors learn to recognize over time.
Locality alone doesn't guarantee authenticity, but checking a specimen's appearance against what's typical for its reported find site is one more piece of evidence to weigh alongside everything else.
Putting It Together
None of these techniques work in isolation. A loupe shows you texture, a flashlight shows you shape, UV light shows you materials, and locality tells you whether the whole picture makes geological sense. Used together, they give you a far clearer read on a specimen than any single test ever could.
At Fossil Driven, every fossil we sell is carefully identified, professionally evaluated, and backed by our authenticity guarantee, because we'd rather you feel confident examining a piece for yourself than take our word for it alone.